Printable Guide
Below you'll find important information and frequently asked questions regarding printable inserts, including recommendations, free testers, printing instructions, troubleshooting, video tutorials, and an insert size guide.
If you lost your files, send us a message to let us know. Don't forget to include your order number! We'll get them sent over again. Please note this is a manual process so it won't happen immediately like when you first purchased your printables; on holidays or weekends.
If you need help regarding your account, shipping, returns & exchanges, Peanut Points, etc., please check out the Help Center.
BEFORE YOU BUY
Please read the 𝗗𝗼𝘄𝗻𝗹𝗼𝗮𝗱𝘀 𝗣𝗼𝗹𝗶𝗰𝘆
By purchasing any digitals from Peanuts Planner Co. you agree to the following Terms of Use:
Printables and digital downloads from Peanuts Planner Co. are for your personal use only.
You may not duplicate, redistribute, reproduce, copy, share, or send files in any form, such as physically or digitally, for free or for profit.
Printables and digital downloads are not permitted for commercial use, you may not use the digital files to create any products for profit.
Transferring of files to a third party printer is prohibited.
If you would like to print inserts from Peanuts Planner Co. and sell your printing services, both parties, the printer and the buyer, are required to purchase the digital file(s) directly from Peanuts Planner Co. first. That way no transfers are being made, and both parties have purchased access to the files directly from Peanuts Planner Co.. The seller is responsible for getting proof from the buyer that they've obtained all the files directly from Peanuts Planner Co. before printing and selling.
Using a print shop, such as FedEx/Kinko's, Office Max, Office Depot, Staples, public libraries, and the likes, to print files from Peanuts Planner Co. is allowed.
Altering of inserts, such as adding lines, text, color, changing fonts, etc. is permitted for personal use only. Altered inserts still fall within the aforementioned Terms of Use.
Please read the info and policies regarding refunds, cancelations, and exchanges on digital items here.
𝗧𝗿𝘆 𝘁𝗵𝗲 𝗙𝗥𝗘𝗘𝗕𝗜𝗘𝗦 first
We have freebies here, so you can do some test prints before making any purchases!
How and when will my files be sent?
Printable inserts are automatically delivered to the email you used at checkout.
Here's how to 𝗲𝘅𝘁𝗿𝗮𝗰𝘁 𝘁𝗵𝗲 𝗭𝗜𝗣 𝗳𝗶𝗹𝗲𝘀 you'll receive
ZIP files are compressed files that keep the downloading process quick for your convenience.
Extracting ZIP files on Mac: Simply double click the ZIP file and it will extract the file using a background program called "Archive Utility". You can find more details regarding Archive Utility and ZIP files on Mac here.
Extracting ZIP files on Windows: Right click the ZIP file you downloaded and select "Extract All," follow any instruction that are prompted next. You can find more details on opening Windows ZIP files here.
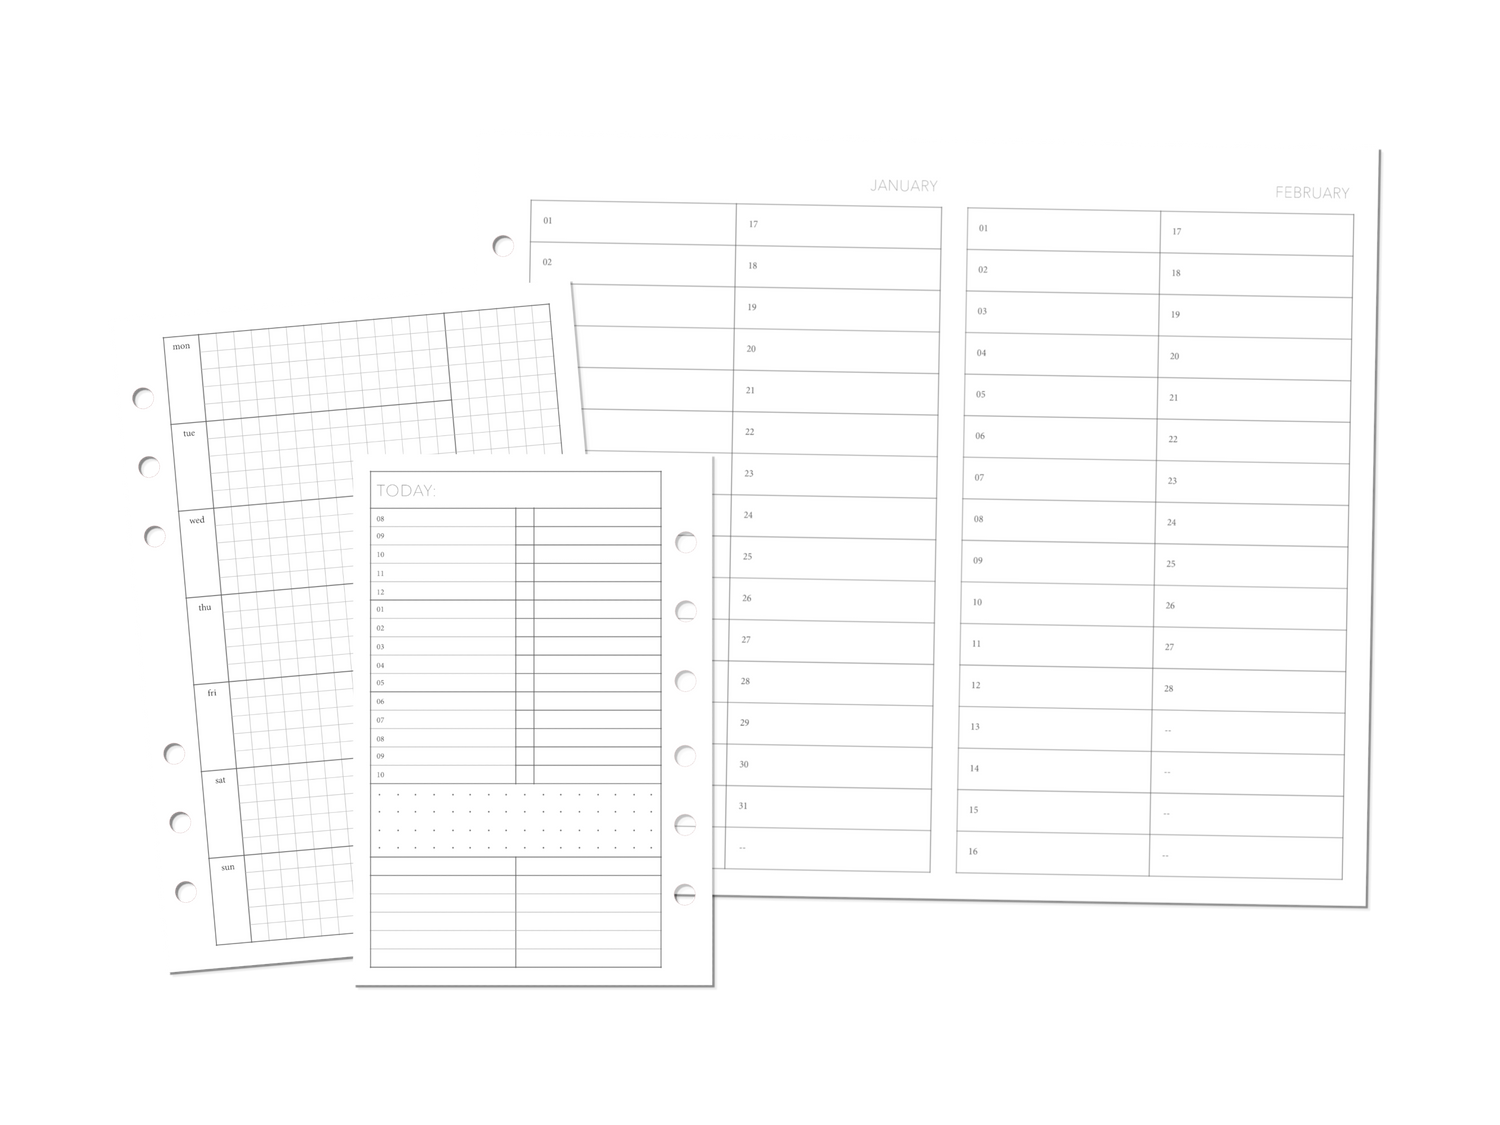
Here 𝘄𝗵𝗮𝘁 𝘆𝗼𝘂'𝗹𝗹 𝗴𝗲𝘁 when purchasing a digital insert
When purchasing printable inserts, you'll typically receive two PDF print files, "Version 1" and "Version 2".
v1: To be printed on US Letter size paper with guides to help you cut the insert out.
v2: To be printed on pre-cut (to insert size) paper.
* A5 inserts come with options to print on both US Letter size paper and A4 paper, find more info on A5 inserts and A4 paper in the drop downs below.
* Not all printers can handle pre-cut paper (v2), read more about that in the How To Print section below.
Always try the freebies first to make sure everything works for you.
𝗡𝗼𝘁𝗶𝗰𝗲: 𝗔𝟱 𝗳𝗼𝗹𝗱𝗼𝘂𝘁𝘀 don't fit on US Letter size paper
A5 foldouts are NOT compatible with US Letter size paper, as the foldout designs will exceed the dimensions of US Letter size paper. If you want to print A5 foldouts, you'll need to use A4 size paper.
If you only have access to US Letter size paper, you'll have to compromise and use the Half Size printables for foldouts in your A5 planners.
The image below shows an A5 foldout printable on Letter size paper (black outline), the foldout does not fit left and right.
Always try the freebies first to make sure everything works for you.
𝗡𝗼𝘁𝗶𝗰𝗲: 𝗛𝗮𝗹𝗳 𝗦𝗶𝘇𝗲 𝗳𝗼𝗹𝗱𝗼𝘂𝘁𝘀 don't fit on A4 size paper
Half Size foldouts are NOT compatible with A4 paper, as the foldout designs will exceed the dimensions of A4 paper. If you want to print Half Size foldouts, you'll need to use US Letter size paper.
If you only have access to A4 paper, you'll have to compromise and use the A5 printables for foldouts in any of your Half Size planners.
The image below shows a Half Size foldout printable on A4 paper (black outline), the foldout does not fit top and bottom.
Always try the freebies first to make sure everything works for you.
Can I 𝗽𝗿𝗶𝗻𝘁 𝗼𝗻 𝗔𝟰 paper?
Printing on A4 paper is possible! Though my inserts are formatted on US Letter size paper (excluding A5, which come with options for printing on A4 and US Letter size), through observing in our Facebook group, most people who print on A4 paper are successful. The advice frequently brought up; set orientation to Auto, select A4 as the paper size, print at 100% scale, manual flip, and use Acrobat.
Always try the freebies first to make sure everything works for you.
Can I 𝗲𝗱𝗶𝘁 𝘁𝗵𝗲 𝗶𝗻𝘀𝗲𝗿𝘁𝘀?
Editing of inserts, such as adding or removing lines and text, changing fonts and colors, resizing (the possibilities are endless), is permitted under PERSONAL USE. I understand inserts aren't one size fits all, so feel free to use my inserts as a base.
Please note, making alterations to any provided freebies, and/or inserts purchased here, does not void it of our Downloads Policy, and terms of use that you agreed to by purchasing and/or downloading our digital products.
You can find various videos on YouTube regarding editing printable inserts, the most recommended PDF editing program is the paid version of Adobe Acrobat.
Can I order 𝗰𝘂𝘀𝘁𝗼𝗺𝘀 𝗮𝗻𝗱 𝗮𝗹𝘁𝗲𝗿𝗮𝘁𝗶𝗼𝗻𝘀?
Yes! I love doing customs and alterations, but I'm only able to provide them occasionally, depending on what other work and life duties are occupying our time. After getting printed inserts in the shop, and spending more time printing, packaging, and shipping, I'm unable to predict my workload and put customs and alterations on any kind of definite schedule.
Order them here (if available) or sign up for restock notifications (on the product page), as I open them up from time to time.
Not sure about printable inserts?
PRINT THE FREE TESTERS
Print some freebies to make sure everything goes smoothly before making any purchases, you can find foldouts, sticky notes, and booklets for testing, too!
Download the instructions in the "How to Print, Printing 101" section below.
Recommendations
Popular in the planner community ✦
What I use personally ✧
-

Print Program
✦ Computer default
✦ Adobe Acrobat
✧ Mac default
✧ Adobe Acrobat -
Paper
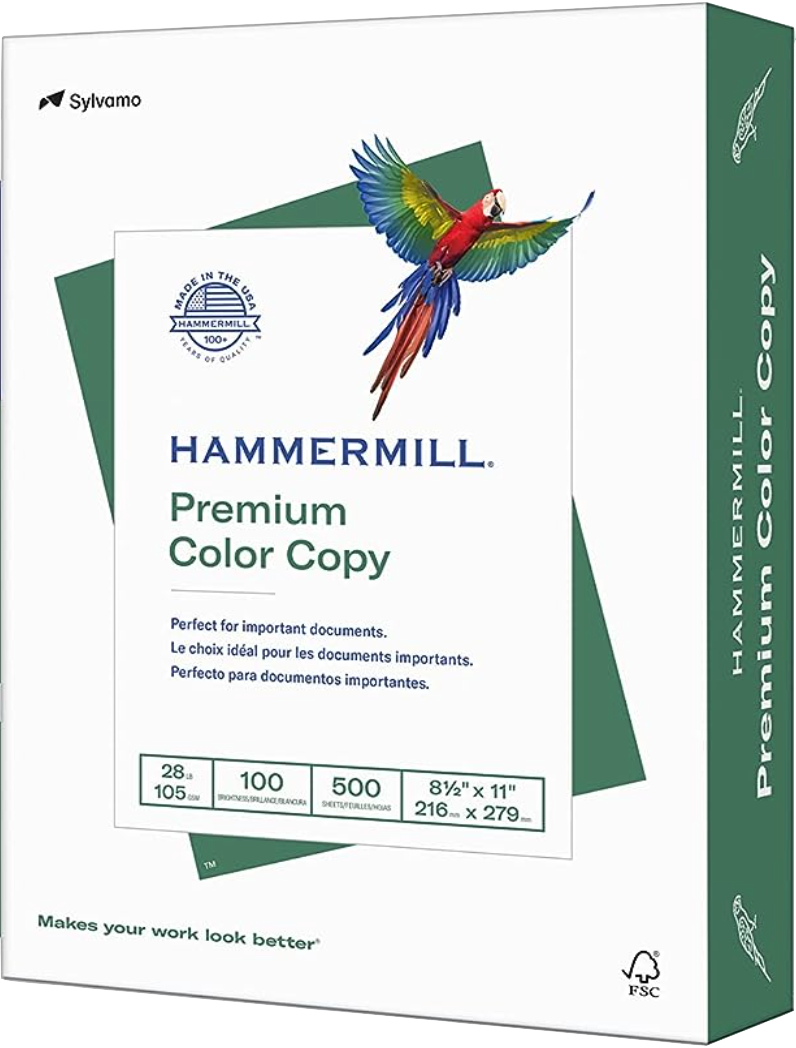
✦ Hammermill 28 lb.
✦ Tomoe River Paper
✧ Any/cheap 20lb paper
✧ HP 32 lb. -
Hole Punch
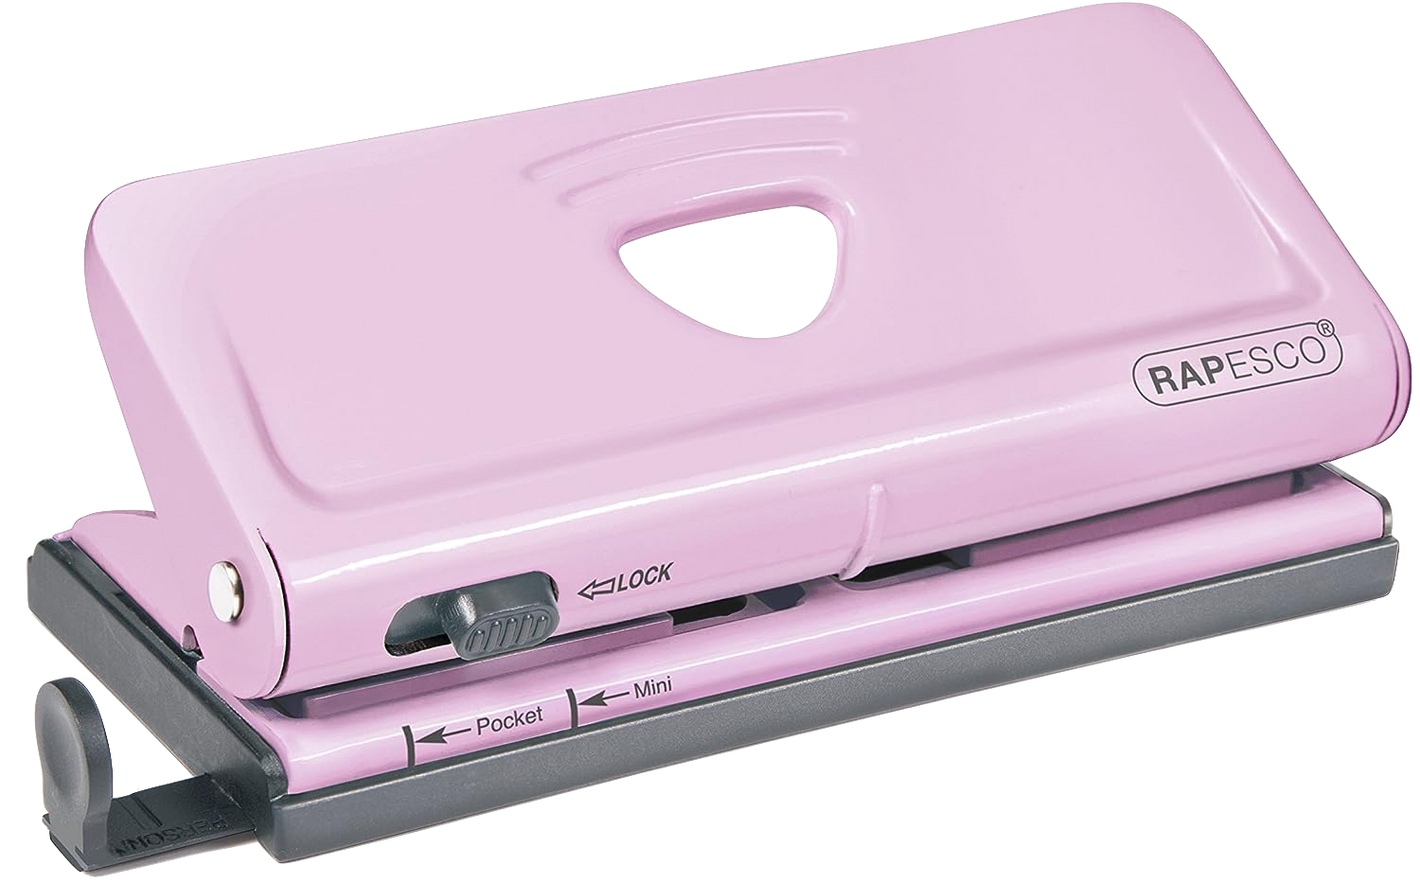
✦ RapEsco
✧ Open Industry -
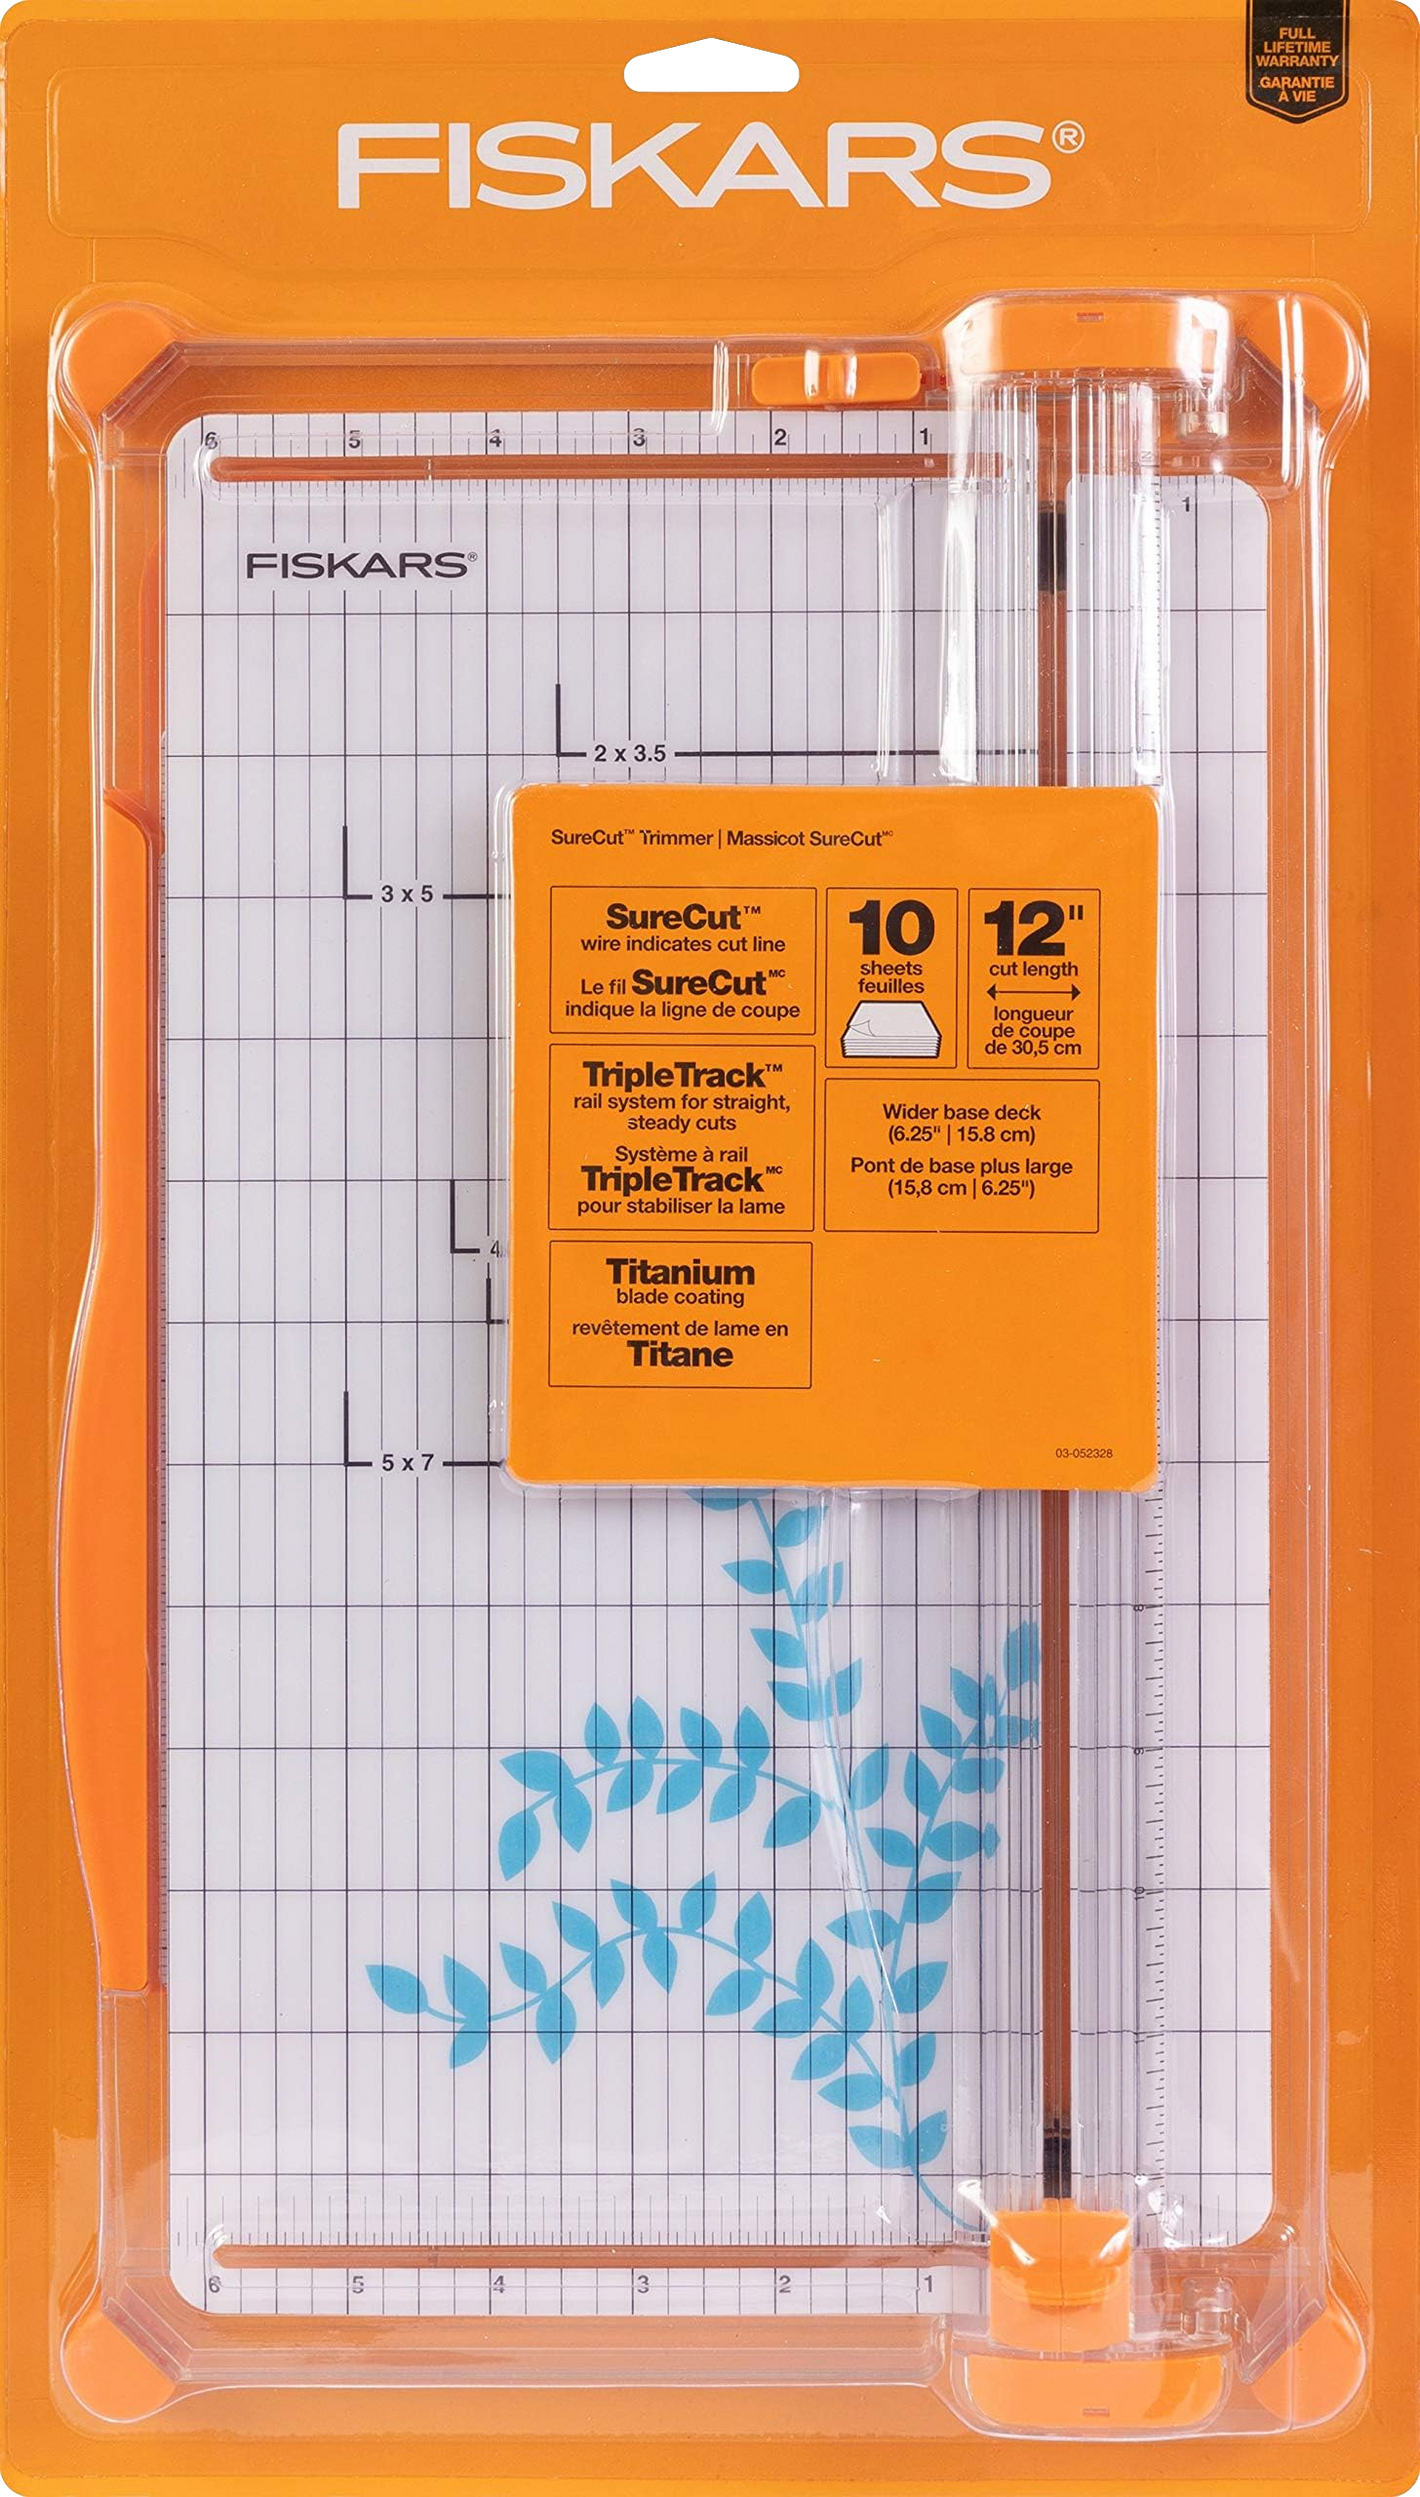
Paper Trimmer
✦ Fiskars SureCut
✦ Box cutter and ruler
✧ Dahle Vantage


Disclaimer: As an Amazon Associate, I earn from qualifying purchases.
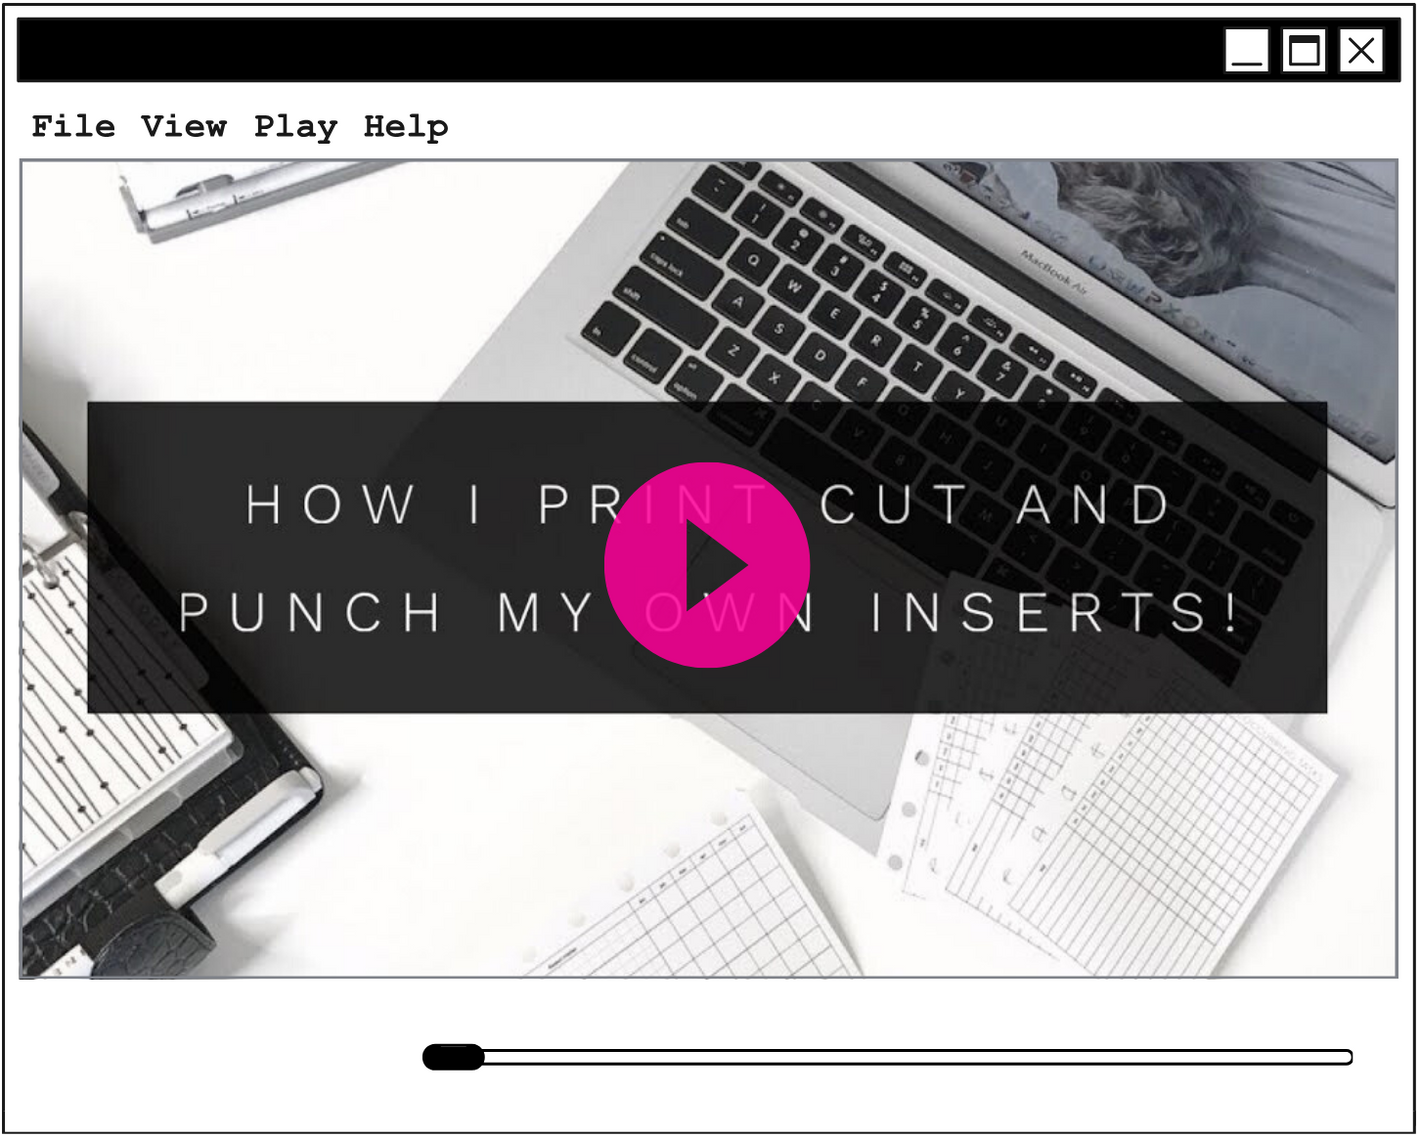
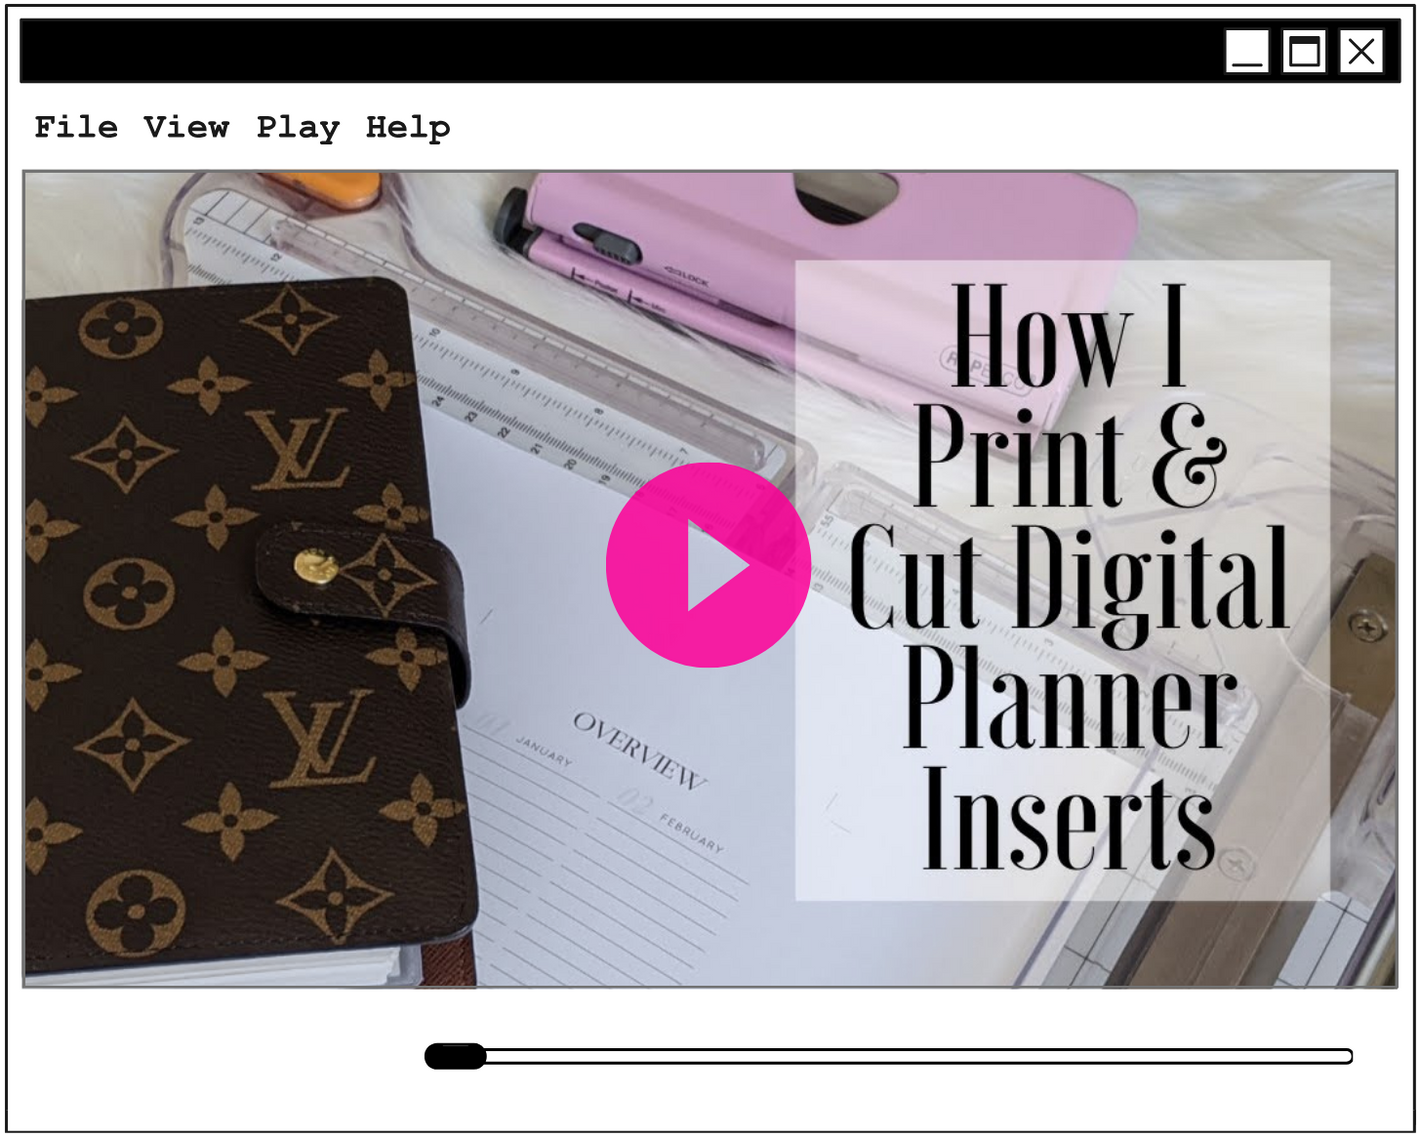
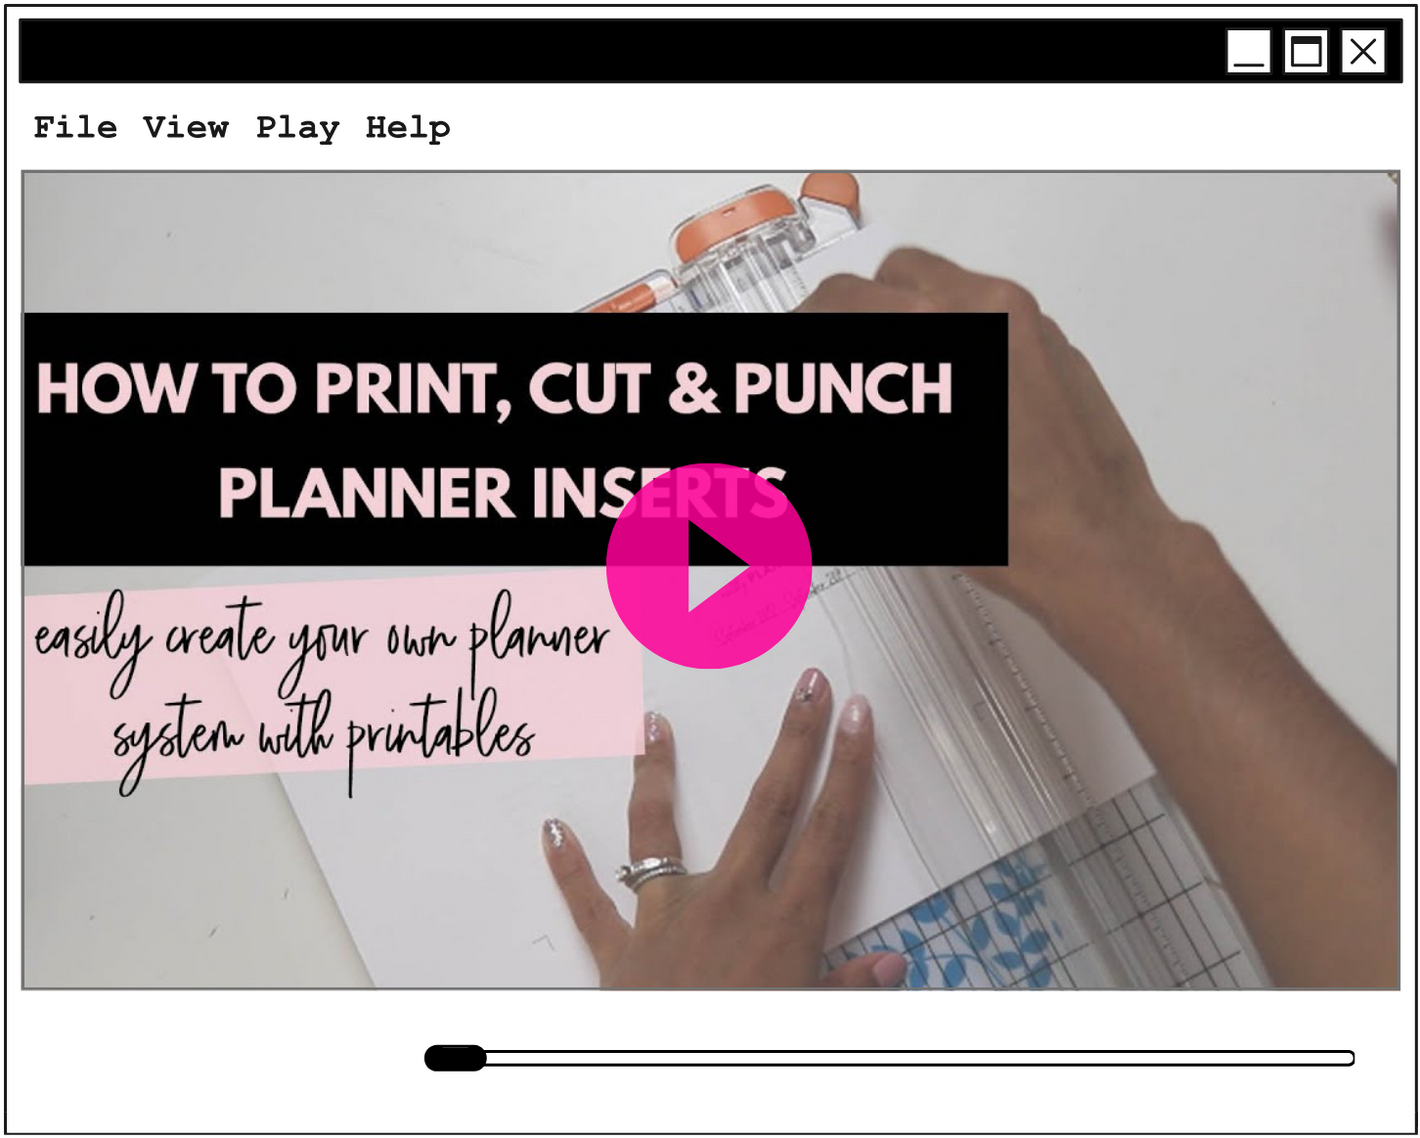
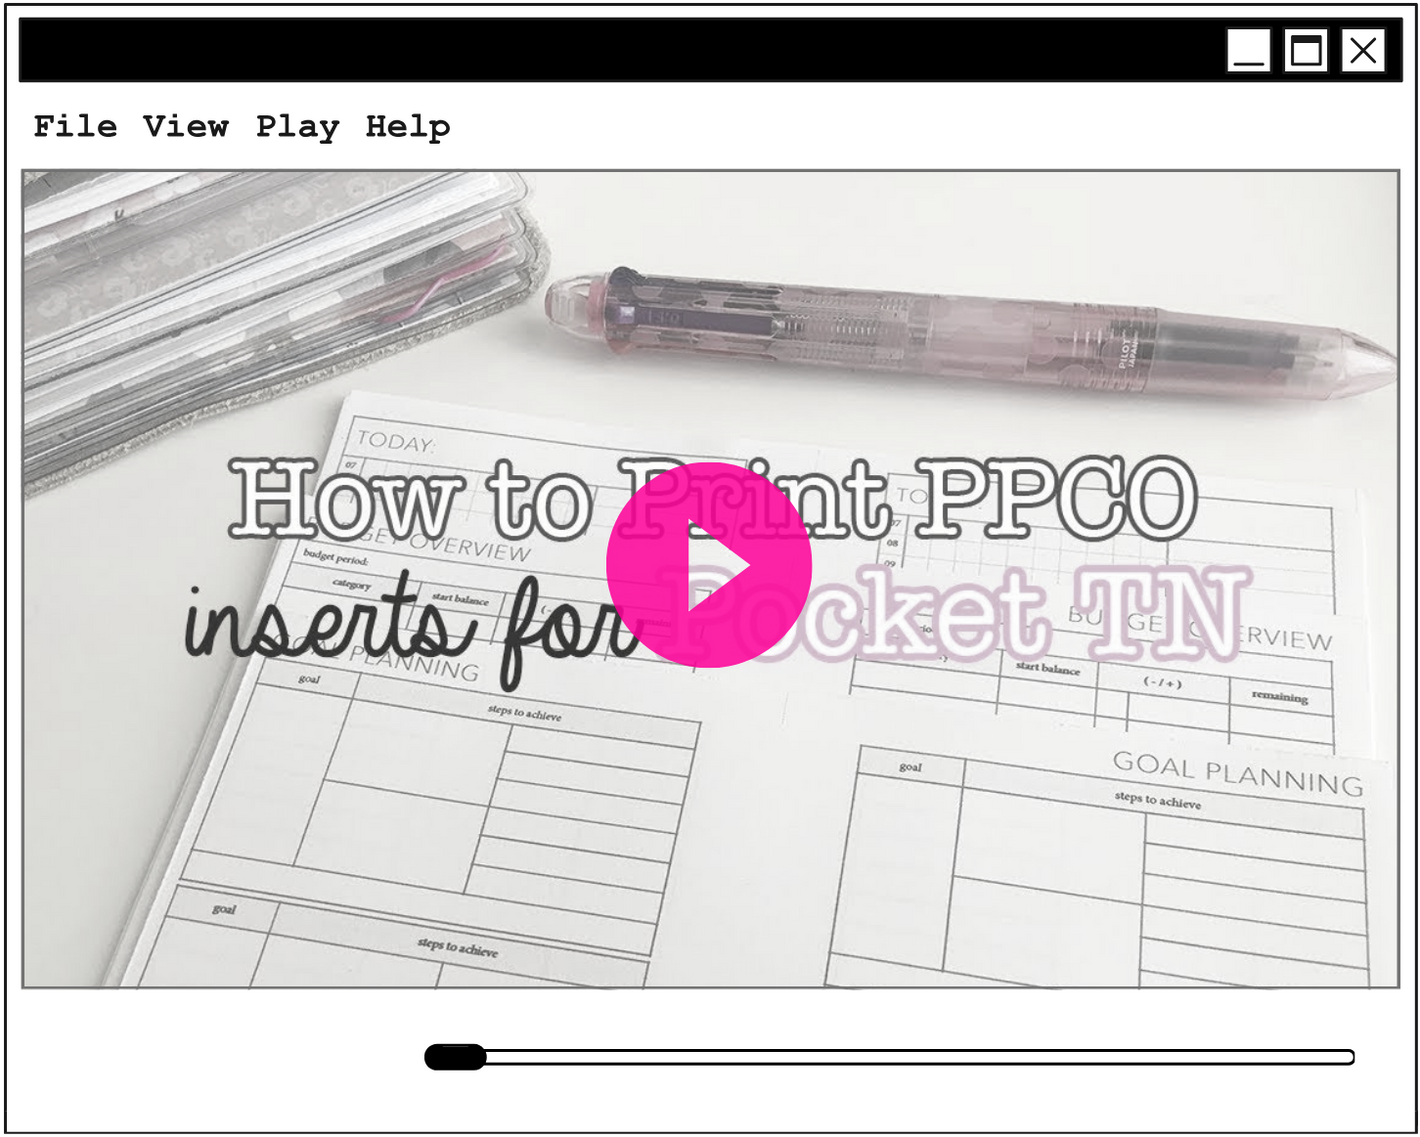
𝗣𝗥𝗜𝗡𝗧𝗜𝗡𝗚 𝟭𝟬𝟭
HOW TO PRINT
𝘐𝘯𝘴𝘵𝘳𝘶𝘤𝘵𝘪𝘰𝘯𝘴 // 𝘛𝘳𝘰𝘶𝘣𝘭𝘦𝘴𝘩𝘰𝘰𝘵𝘪𝘯𝘨 // 𝘝𝘪𝘥𝘦𝘰𝘴
All systems, printers, and programs work differently, the instructions and tips provided here are general; have been tested on various systems, printers, and programs but that does not guarantee they will work on yours.
Collapsible content
■ 𝗦𝗰𝗮𝗹𝗲 𝘁𝗼 𝟭𝟬𝟬% in your print settings
Inserts are designed true to size so you'll need to set your print settings to 100% scale, this setting may also show as the following: Actual Size, Full Size, Do Not Scale, Disable Scaling, Scaling Off, etc.
■ 𝗣𝗿𝗶𝗻𝘁 𝗳𝗿𝗼𝗺 𝗮 𝗰𝗼𝗺𝗽𝘂𝘁𝗲𝗿, not a browser or phone
If possible, please print from a computer and not a web browser or phone, you'll have more settings available. Sometimes print settings on phones and browsers are locked/greyed out. The program that opens on a computer when opening a file will give you more control over settings to make sure everything prints correctly. A lot of people recommend Adobe Acrobat as well.
Different things like scale, tray output, quality, and paper size settings are important when printing our inserts, so a computer will be the ideal choice.
I did a test print on my phone, and there were no options to change (or see) anything other than the amount of copies. Of course you can look into different file handling apps for better settings on your mobile devices, too.
■ 𝗡𝗼𝘁 𝗮𝗹𝗹 𝗽𝗿𝗶𝗻𝘁𝗲𝗿𝘀 𝗰𝗮𝗻 𝗵𝗮𝗻𝗱𝗹𝗲 𝗽𝗿𝗲-𝗰𝘂𝘁 𝗽𝗮𝗽𝗲𝗿
Not all printers are able to handle smaller sizes of paper; and can cause printer jams. In this instance, please use the Version 1 PDF files to print and then cut the inserts out, instead of the Version 2 PDF files (cut then print).
You'll receive both options when purchasing printable files.
■ 𝗣𝗿𝗶𝗻𝘁𝘀 𝗮𝗿𝗲 𝗴𝗲𝘁𝘁𝗶𝗻𝗴 𝗰𝘂𝘁 𝗼𝗳𝗳 (check margin settings)
Some printers have fixed margins and some have borderless capabilities. Edges of the insert designs may be cut off depending on margin settings, so be sure to check your paper size settings, as you can sometimes adjust the margin sizes, if you need to.
This will most likely only happen on pre-cut paper (v2 files) so try v1 instead, where you'll print and THEN cut. It's very unlikely to happen on our v1 files; and what most people prefer to use.
■ 𝗗𝘂𝗽𝗹𝗲𝘅 𝗰𝗮𝗻 𝗰𝗮𝘂𝘀𝗲 𝗺𝗶𝘀𝗮𝗹𝗶𝗴𝗻𝗲𝗱 𝗽𝗿𝗶𝗻𝘁𝘀
The duplex feature on some printers flip the paper aggressively; the jolting causing the inserts to be misaligned from front to back. I personally prefer to manually flip my paper for better alignment, even though I have a duplex printer, as it helps to achieve more centered prints. Just something to keep in mind if you're having any alignment issues, or if your prints are not lining up front to back.
■ 𝗣𝗿𝗶𝗻𝘁𝘀 𝗮𝗿𝗲 𝘂𝗽𝘀𝗶𝗱𝗲 𝗱𝗼𝘄𝗻 or different front to back
This is most likely due to binding settings or flipping adjustments.
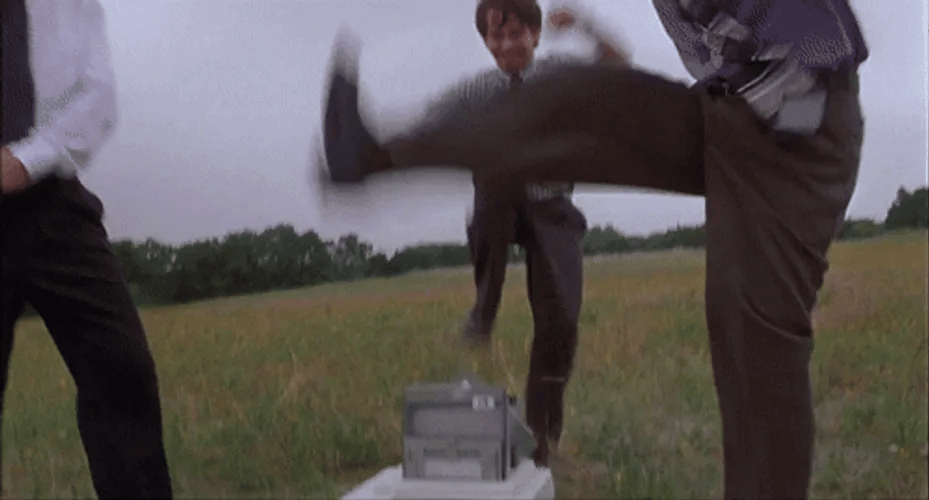
Manual flipping: If you're printing one side, manually flipping and reinserting the paper back into the printer to print the the second side, try flipping differently. See the animated photo below for different ways you can flip. On our previous printer flipping was top/bottom before reinserting, but on our current printer, it's left/right. Try different methods, take notes, you'll find the right rotation for your printer.
Using a printers double sided (duplex) feature: If you're using a printer that can print on both sides, change the binding settings in your print program. Not all duplex printers pull in and flip the same so you'll have to trial and error in the binding settings. I've attached a photo of what the settings look like on my end, but there might be slight variations of the setting names depending on what you're using. 

* Not all inserts will flip the same way. Depending on how much of the paper I need for the design/insert size, some are vertically designed and some are horizontally designed, these will have different flip types.
■ Inserts are 𝗽𝗿𝗶𝗻𝘁𝗶𝗻𝗴 𝘁𝗼𝗼 𝗯𝗶𝗴 or 𝘁𝗼𝗼 𝘀𝗺𝗮𝗹𝗹
Please make sure you purchased the correct size!
If you're having sizing problems it's usually due to scaling or printing from an incompatible device. Read more about these issues a few lines up.
■ Screenshots of 𝗽𝗿𝗶𝗻𝘁 𝘀𝗲𝘁𝘁𝗶𝗻𝗴𝘀 𝘁𝗵𝗮𝘁 𝗜 𝘂𝘀𝗲 𝗽𝗲𝗿𝘀𝗼𝗻𝗮𝗹𝗹𝘆


Instructions
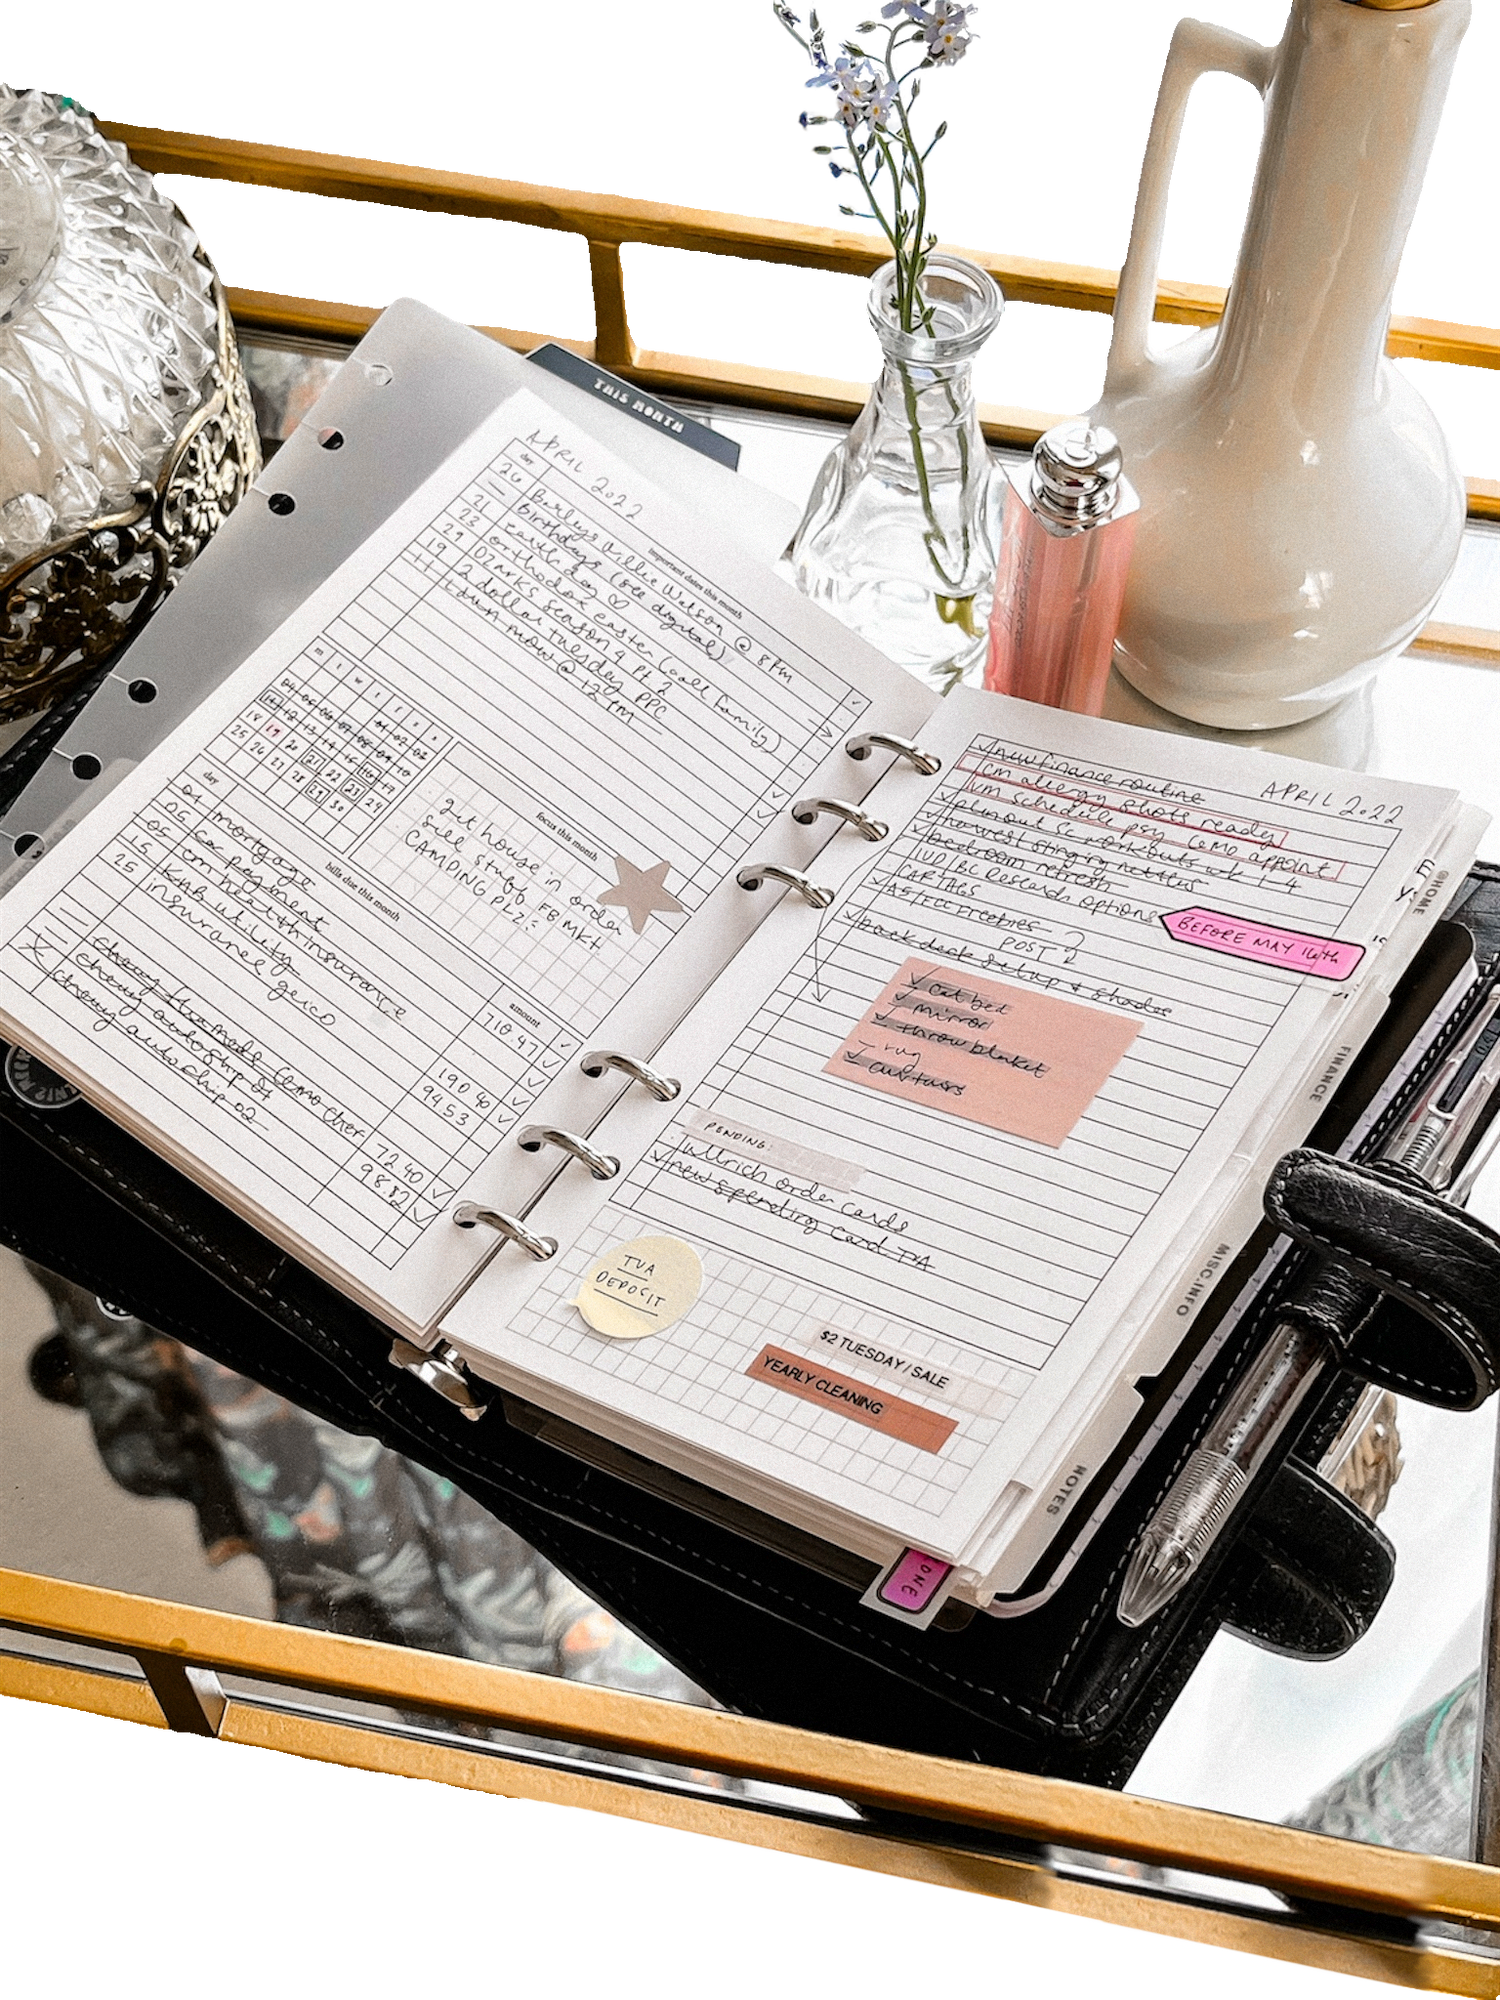
Keep a copy in your planner! Download this handy foldout insert to keep a quick instructions guide for printing Peanuts Planner Co. inserts on hand. There's even a spot for you to track your Peanuts Planner Co. insert inventory.

-
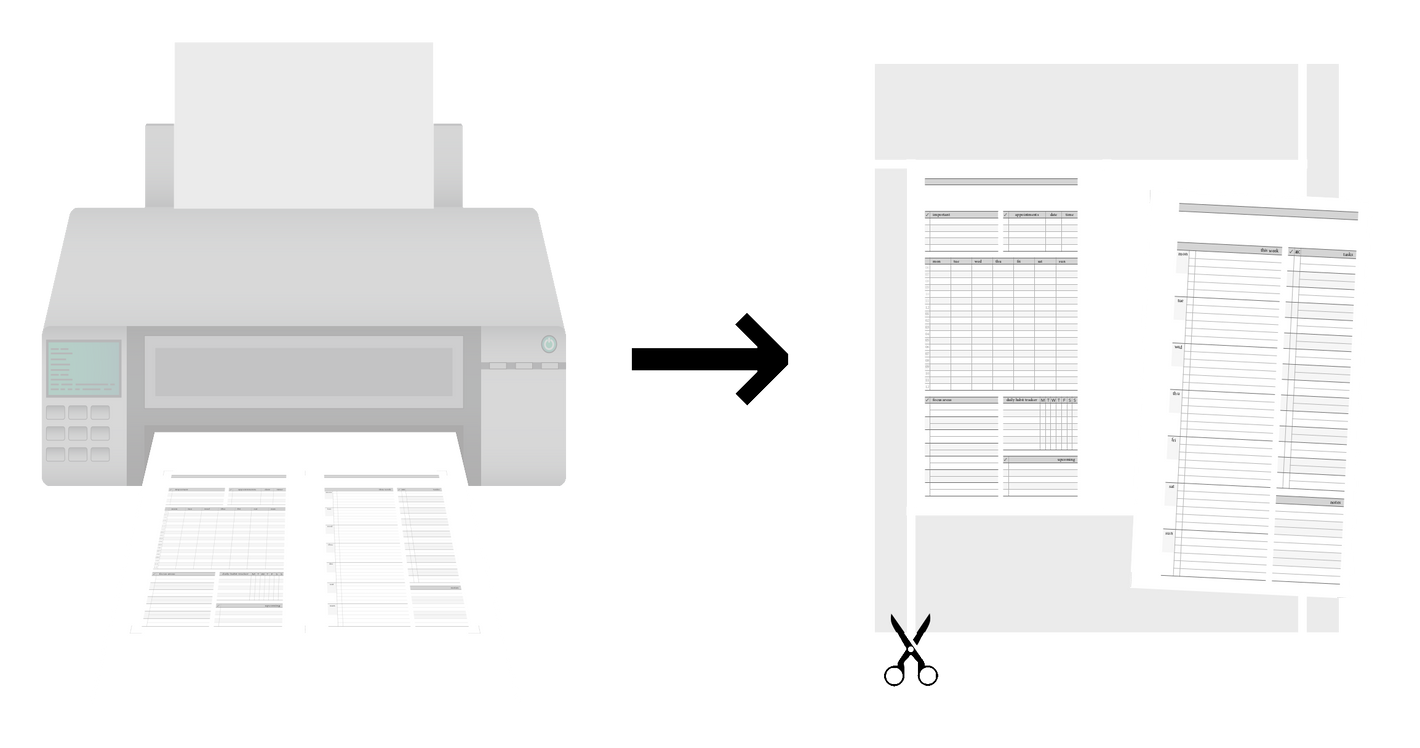
Version 1 (and Foldouts)
𝗧𝗼 𝗽𝗿𝗶𝗻𝘁 𝗼𝗻 𝗨𝗦 𝗟𝗲𝘁𝘁𝗲𝗿 𝗽𝗮𝗽𝗲𝗿 𝗮𝗻𝗱 𝘁𝗵𝗲𝗻 𝗰𝘂𝘁 𝗼𝘂𝘁
Paper to print on
8.5" x 11" inch paper (US Letter)
In your print settings
Scale to 100% or actual size
Instructions
Print the PDF page(s) front to back, once or repeat as many times as you need. Print the odd pages first, flipping manually or using duplex, then print the even pages on the reverse sides.
Cut out along the guide lines, punch, and plan! -
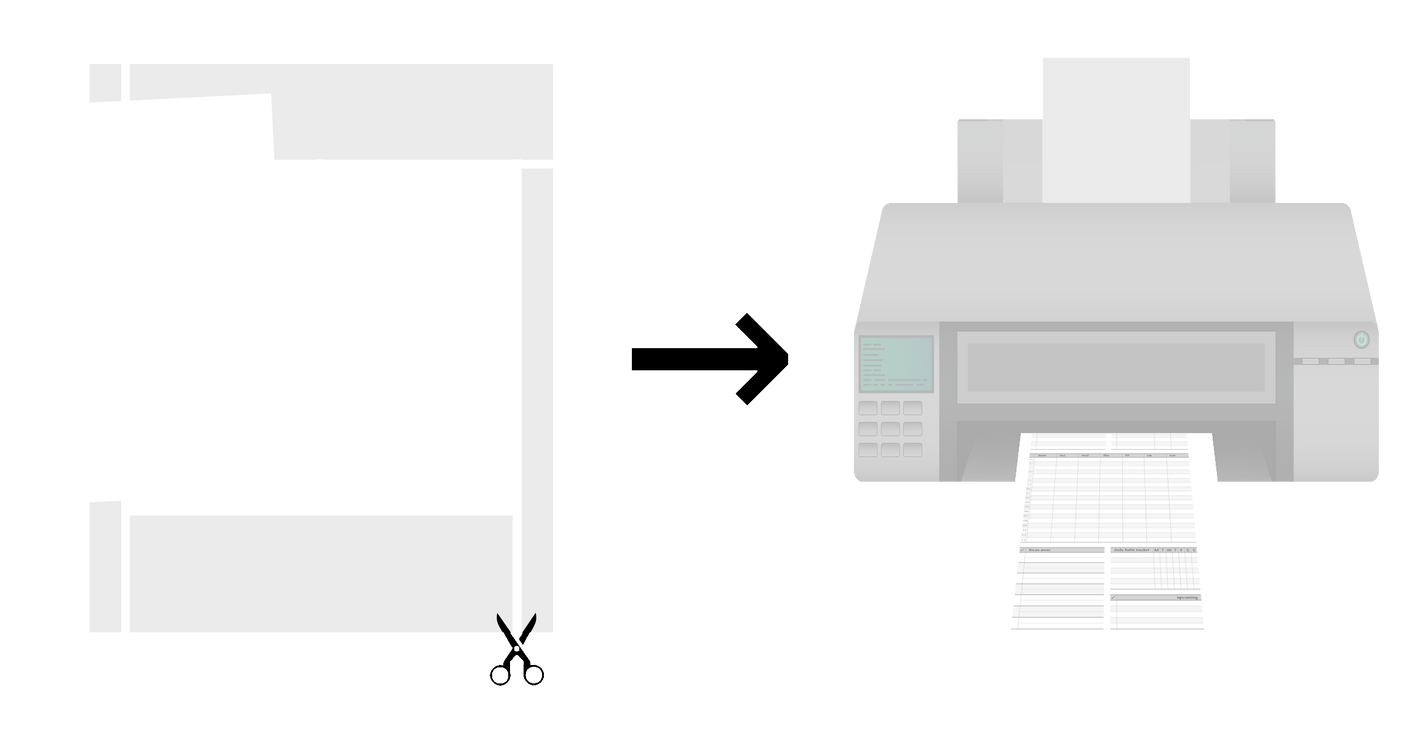
Version 2
𝗧𝗼 𝗽𝗿𝗲-𝗰𝘂𝘁 𝗽𝗮𝗽𝗲𝗿 𝗮𝗻𝗱 𝘁𝗵𝗲𝗻 𝗽𝗿𝗶𝗻𝘁 𝗼𝗻 𝗶𝘁
Paper to print on
Paper cut to insert size
In your print settings
Set page settings to match insert size
Scale to 100% or actual size
Instructions
Print the PDF page(s) front to back, once or repeat as many times as you need. Print the odd pages first, flipping manually or using duplex, then print the even pages on the reverse sides.
Punch and plan!


SIZE GUIDE
IMPORTANT! Half Size and A5 are interchangeable, choose based on your preference: Either of these sizes will fit in planners marketed as Half Size, Half Letter, A5, rings or discbound, as well as some mini binders. I suggest trying the testers linked above to figure out which one you like.
IMPORTANT! Your A6 planner might actually be a personal size planner: Planners purchased from Etsy, Amazon, AliExpress (or similar); and listed as A6, are oftentimes actually Personal sized planners. Before purchasing our inserts, please double check their description for their listed insert measurements.
Pictured below
-

Size Guide: Page 1
-

Size Guide: Page 2
-

Pocket (𝟯.𝟭𝟵 𝘹 𝟰.𝟳𝟮 𝘪𝘯𝘤𝘩)
• Filofax Pocket
• Louis Vuitton PM
• Kikki K. Small
• Kate Spade Small
• Van Der Spek Junior
• Gillio Pocket
• Mulberry Pocketbook
• Moterm Pocket -

Pocket Plus (𝟯.𝟱 𝘹 𝟱 𝘪𝘯𝘤𝘩)
For Pocket size planners who need slightly more writing space.
-
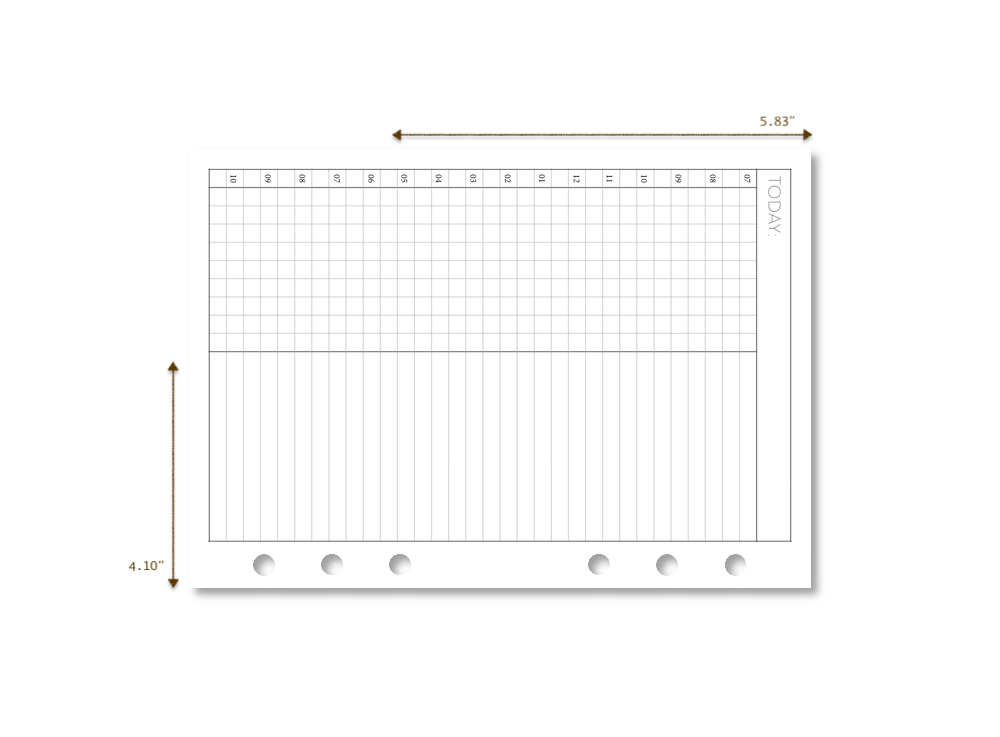
A6 (𝟰.𝟭𝟬 𝘹 𝟱.𝟴𝟯 𝘪𝘯𝘤𝘩)
• Mulberry Agenda
• Gillio A6
• VDS Senior Widened
• Moterm A6 -
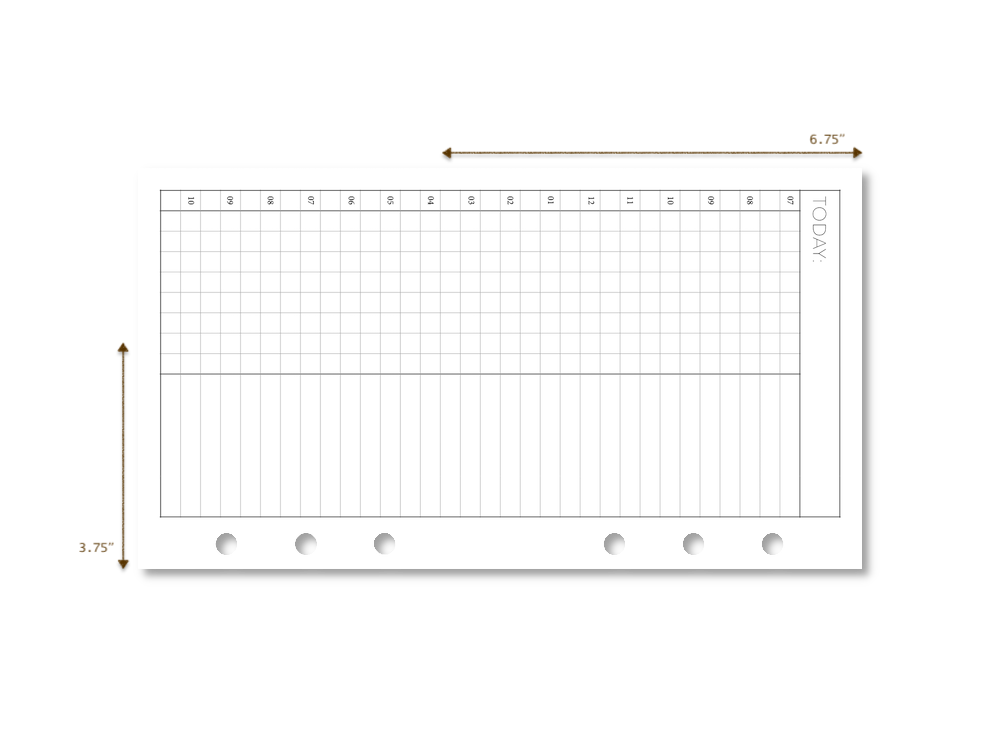
Personal (𝟯.𝟳𝟱 𝘹 𝟲.𝟳𝟱 𝘪𝘯𝘤𝘩)
• Filofax Personal
• Louis Vuitton MM
• Kikki K. Medium
• Kate Spade Agenda
• Gillio Medium
• Van Der Spek Standard
• Recollections Medium
• Moterm Personal -
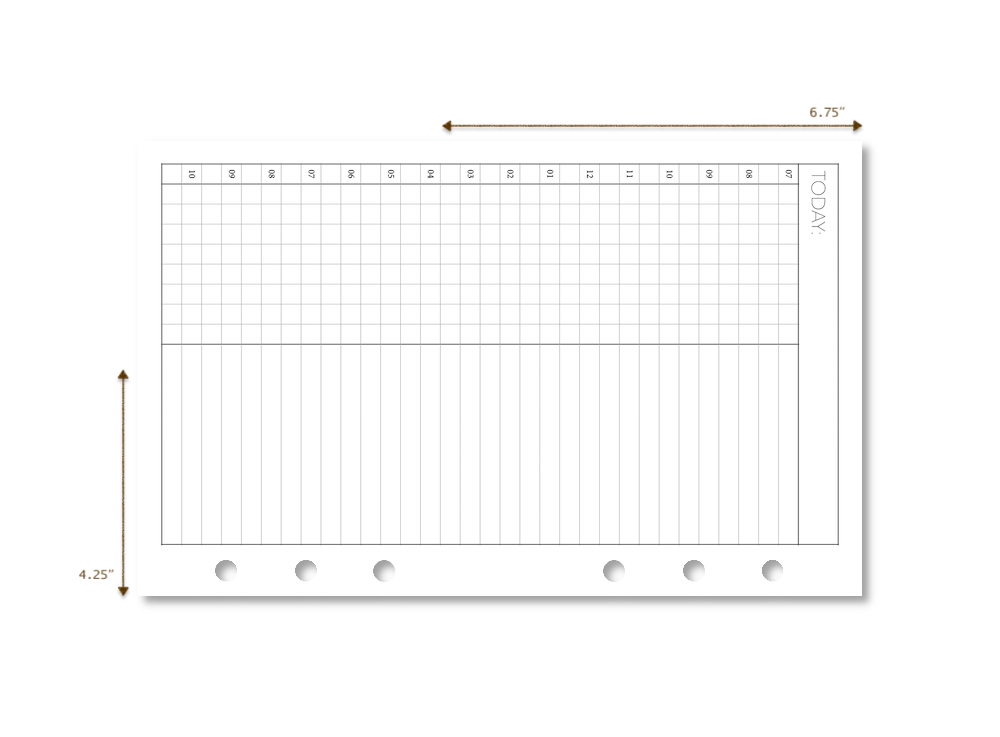
FC Compact (𝟰.𝟮𝟱 𝘹 𝟲.𝟳𝟱 𝘪𝘯𝘤𝘩)
• Franklin Covey Compact
• Gillio Medium XL
• VDS Standard Widened
• Kikki K. Medium
• Recollections Medium -
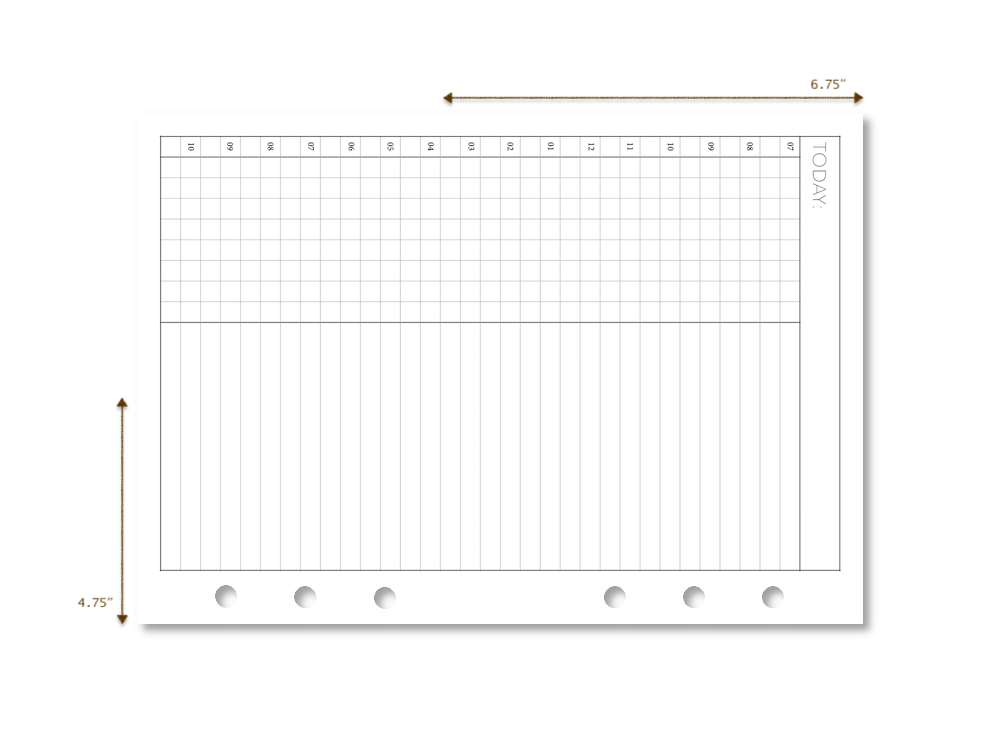
Personal Wide (𝟰.𝟳𝟱 𝘹 𝟲.𝟳𝟱 𝘪𝘯𝘤𝘩)
• Kikki K. B6 (comparable)
• Gillio Personal Wide
• VDS Standard Widened
• Moterm Personal Wide
• Aura Estelle Personal Wide
• Foxy Fix Personal Wide -

Mini HP (𝟰.𝟲𝟯 𝘹 𝟳 𝘪𝘯𝘤𝘩)
• Happy Planner Mini
• 7-Punch Discbound -

Half Size (𝟱.𝟱 𝘹 𝟴.𝟱 𝘪𝘯𝘤𝘩)
• Filofax A5
• Louis Vuitton GM
• Kikki K. Large
• Carpe Diem A5
• Moterm A5
• Recollections A5
• Van Der Spek Manager
• Gillio A5 -
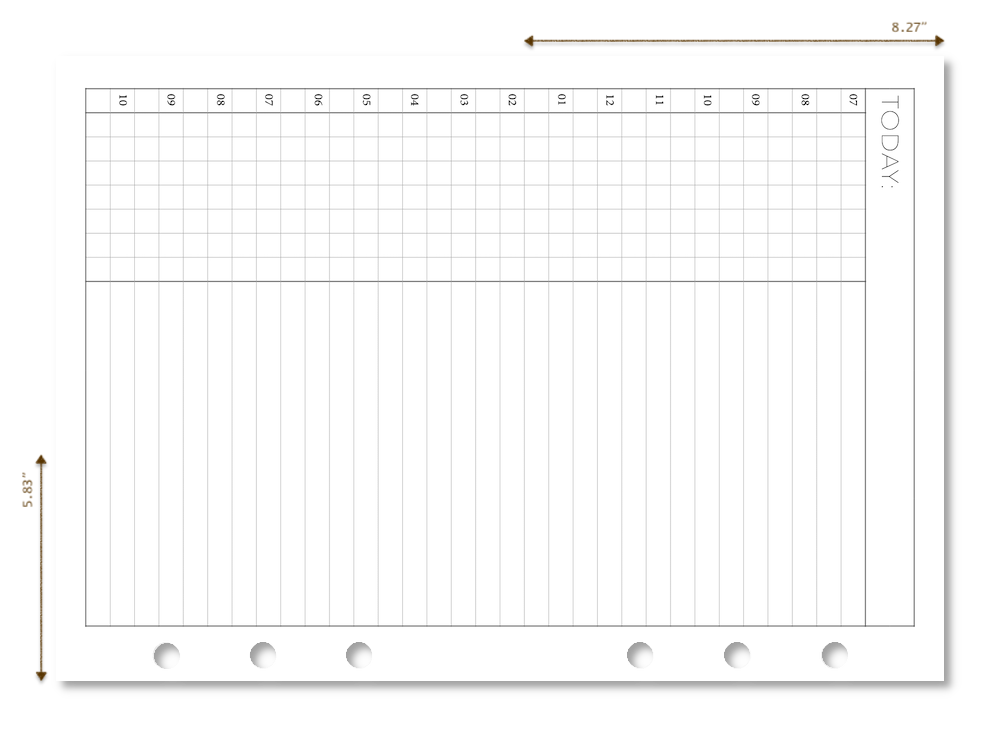
A5 (𝟱.𝟴𝟯 𝘹 𝟴.𝟮𝟳 𝘪𝘯𝘤𝘩)
• Filofax A5
• Louis Vuitton GM
• Kikki K. Large
• Carpe Diem A5
• Moterm A5
• Recollections A5
• Van Der Spek Manager
• Gillio A5


